
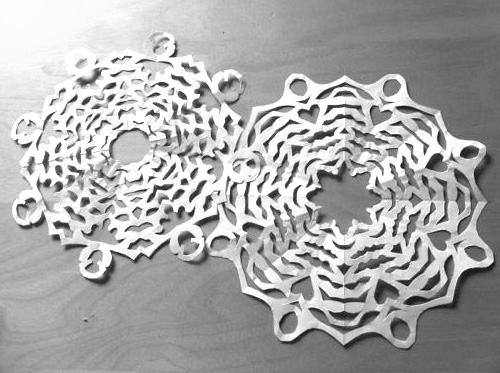
How to make a perfect paper snowflake
My godsister showed us how to make a perfect snowflake over twenty years ago. Below are easy steps to fold and cut a beautiful snowflake, and tips on making it intricate.
Supplies you’ll need:
- Light-weight white unlined, acid-free paper* (I’ve been using old paper from school)
- Good, sharp scissors that are comfortable to hold
- Weights such as a couple heavy books
- White putty to hang snowflakes
- Your imagination!
* Paper that’s not acid-free will yellow over time. You don’t want that!
Make sure your folding is as accurate as possible on edges, and press down your folded edges.
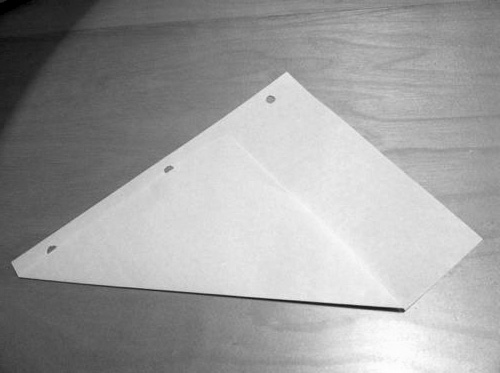
Start with a piece of square paper, or fold and cut a letter-size sheet. If it has holes, fold as shown so you don’t include those.
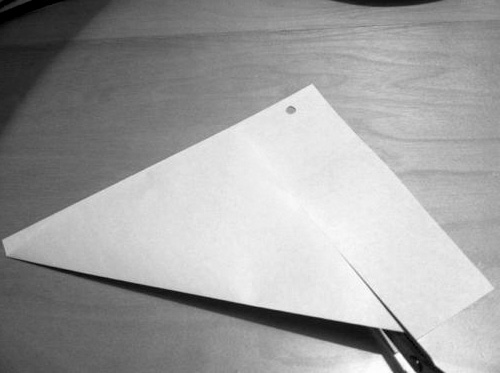
Cut off the excess. You can use this for making tiny snowflakes!

Your square sheet, creased and ready for folding.
Fold once…

Twice…
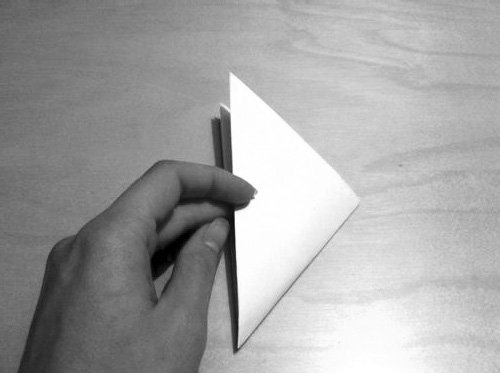
And a third time, making sure you’ve got a solid folded edge along one side.
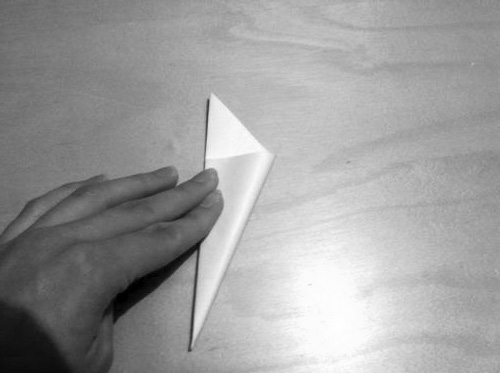
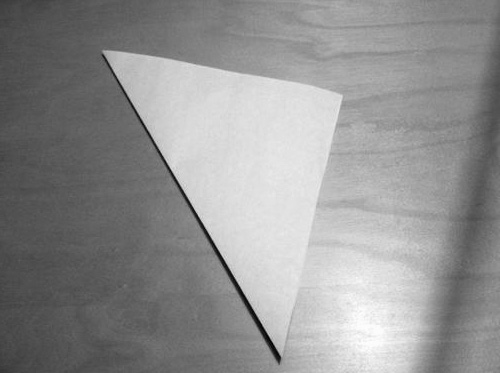
Fold this solid edge over to make an ice cream cone shape.

Cut off the ice cream. (Sorry.) This is the critical snip that will give you a round snowflake.
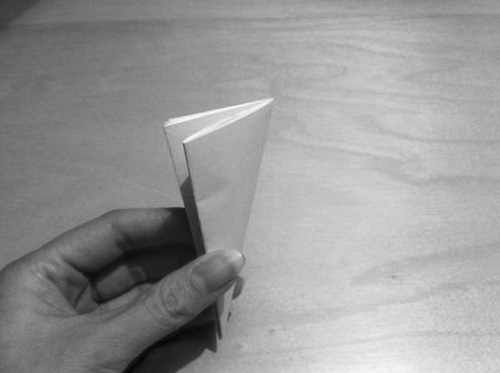
It’ll look like this: open on two edges and closed on one.

Now cut carefully. Do not cut across the entire piece except at the top and bottom (edge and centre). Be creative with your shapes and remember you’re cutting half a shape, e.g. cut half a heart if you’d like a heart shape. Try to remove as much paper as possible and vary the sizes of your shapes.
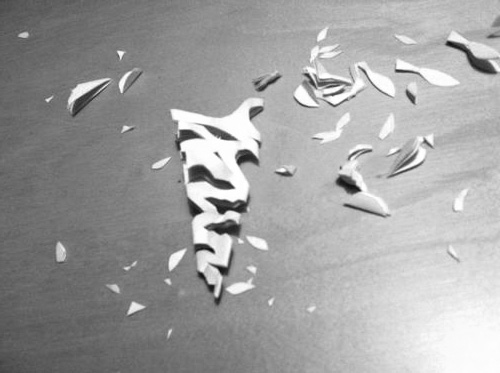
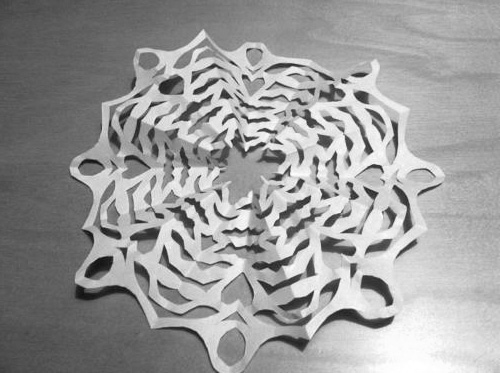
First snowflake example after finishing the cuts.

Unfold gently.
Unfolded snowflake, ready for pressing.
Gently lay weights on top of your snowflakes. (You can stack the snowflakes on top of each other, but be mindful they may get tangled when you uncover them.) Press overnight.
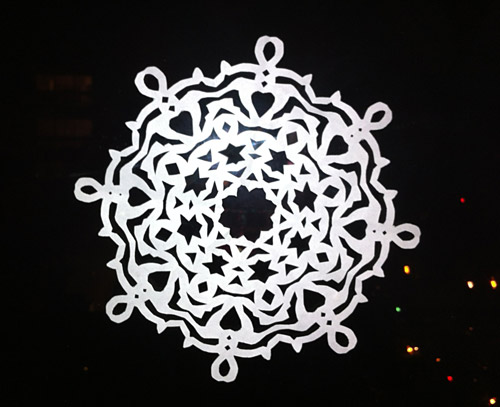
When they’re nice and flat, hang them up on a window with a few tiny pieces of white putty.
Happy holidays and a merry winter season!